Connect KSV with NeonSAN
Describes how to connect KSV with NeonSAN storage.
NeonSAN is an enterprise-grade distributed block storage system powered by QingCloud. NeonSAN Container Storage Interface (CSI) is a storage plug-in provided by NeonSAN, with the capability to dynamically create persistent volumes (PVs) on Kubernetes.
KubeSphere Virtualization (KSV) supports deep integration with QingStor NeonSAN, empowering enterprises to step into cloud native. This topic describes how to connect KSV with NeonSAN storage.
Prerequisites
Make sure that NeonSAN CSI is installed. If not, contact NeonSAN technical support. For more information, visit QingStor-CSI.
Run the following command to check whether NeonSAN CSI is installed. If the output is empty, NeonSAN CSI is not installed.
kubectl get pod --all-namespaces | grep csi-neonsanMake sure that the target node meets all the prerequisites for installing KSV. For more information, see Install KSV in single-node mode and Install KSV in multi-node mode.
Procedure
Log in to the server node where NeonSAN CSI is installed as user root.
Run the following command to view the etcd service on the node:
systemctl status etcdCommand output:
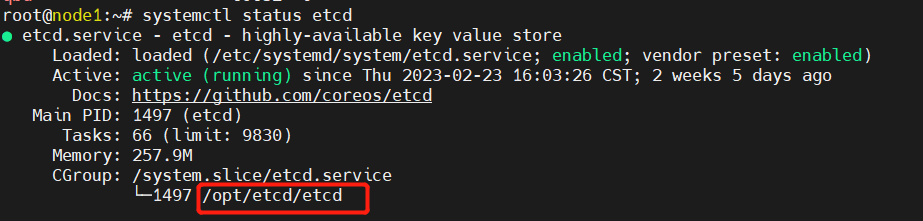
The return shows that the installation path of etcd is /opt/etcd.
Run the following command to go to the installation path of etcd:
cd /opt/etcdRun the following command to view etcd cluster information:
./etcdctl --endpoints=http://172.31.11.110:2379 member listCommand output:

Run the following command to query the architecture of the server node:
uname -mDownload the installation package based on the architecture of the server node:
x86 architecture
common:Cover Text
ARM64 architecture
common:Cover Text
Decompress the installation package:
tar -zxvf kubesphere-virtualization-<package name>.tar.gzcommon:NOTE
In the preceding command, replace <package name> with the name of the installation package you download.
x86 architecture: Replace <package name> with x86_64-v1.6.1.
ARM64 architecture: Replace <package name> with arm64-v1.6.1.
Go to the directory generated after the installation package is decompressed:
cd kubesphere-virtualization-<file path>common:NOTE
In the preceding command, replace <file path> with the name of the directory generated.
x86 architecture: Replace <file path> with x86_64.
ARM64 architecture: Replace <file path> with arm64.
Run the following command to edit config-sample.yaml:
vi config-sample.yamlModify the etcd and addons parameters in the config-sample.yaml file as follows:

For more information about parameters, see config-example.
Modify values.yaml of csi-neonsan:
# Go to the charts directory
cd charts/csi-neonsan
# Modify values
vim values.yaml
Modify the parameters based on the following configuration:
Set repository under provisioner to kubespheredev/csi-provisioner and tag to v3.1.0.
Set repository under attacher to kubespheredev/csi-attacher and tag to v3.4.0.
Set repository under resizer to kubespheredev/csi-resizer and tag to v1.4.0.
Set repository under snapshotter to kubespheredev/csi-snapshotter and tag to v5.0.1.
Set repository under registrar to kubespheredev/csi-node-driver-registrar and tag to v2.5.0.
For more information about parameters, see manifest-sample.
Run the following command to install KSV:
# Install KSV in single- or multi-node mode. Example:
./install.sh -m
Verification
After the installation is complete, verify that csi-neonsan is working:
kubectl -n kube-system get pod | grep csi-neonsan
csi-neonsan-controller-c85c94b84-cpkh2   5/5     Running   4          18d
csi-neonsan-node-bb4f5                   2/2     Running   8          26d
csi-neonsan-node-g8wlf                   2/2     Running   2          26d
csi-neonsan-node-trkbb                   2/2     Running   2          26d
View KSV installation logs:
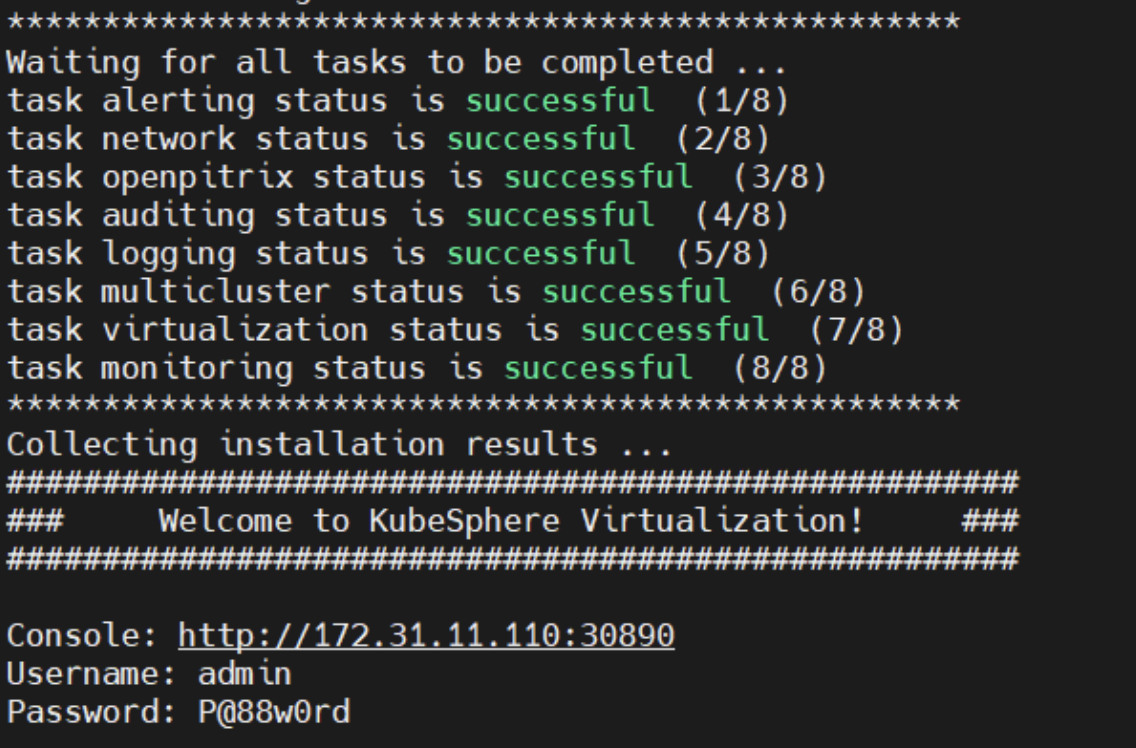
ksv logsThe installation is successful if a message similar to the following appears: